Tuesday, September 15, 2015

Community Helpers

Last year, I did a two-week long unit on community helpers, and we spotlighted a certain community helper each day, learning about them and doing a fun craft.

This year, the way it worked out, I only had one week for my community helpers unit. On top of that, it was Labor Day week, so it was only four days. I chose to take two days to talk about communities first, before delving into community helpers. It was actually a bit easier, I thought, to just teach about many community helpers over few days than teaching one each day.

We started out the week by reading Me on the Map. We spent time that day looking at Google Earth, starting at the world and zooming in farther and farther until we could see specific sites in St. Louis. We did a circle craft (I didn't take pictures!) in which they colored the world, the country, the state, the city, and their house. The country and state, I printed out the outline maps and just had them color them in.

The next day, we talked about places in our community. We read Places in my Neighborhood and made a big list of all kinds of places that we think are important to have in a community - fire station, police station, school, church, stores, pool, hospital, things like that. Then, we read Map My Neighborhood in preparation to make our own community maps!


This community map project was one my mom used to do with her class all the time. I paired kids up in our first real "group project." I was a little hesitant to do that so early in the year, but I thought that having them paired up might spark more meaningful decisions about what they need in their community and where they should put it. Unfortunately, I didn't see too much of that throughout the project, but they at least all worked with their partners without arguing or fighting, so that's a success, right?


All I did was to take 2 pieces of 12"x18" paper for each group and tape them together. I also cut some long black strips for roads. Besides that, I just set out markers and our scrap paper basket and let them go at it once I explained it!


We spent two days of art time working on these, and you can even see that each group got farther along than the other. One group finished with enough time to get everything labeled and give their town a name. Another group got most things labeled. My third group never even got to labeling, But hey, that's life, and they still all look pretty cool, I thought. with lots of learning going into them!


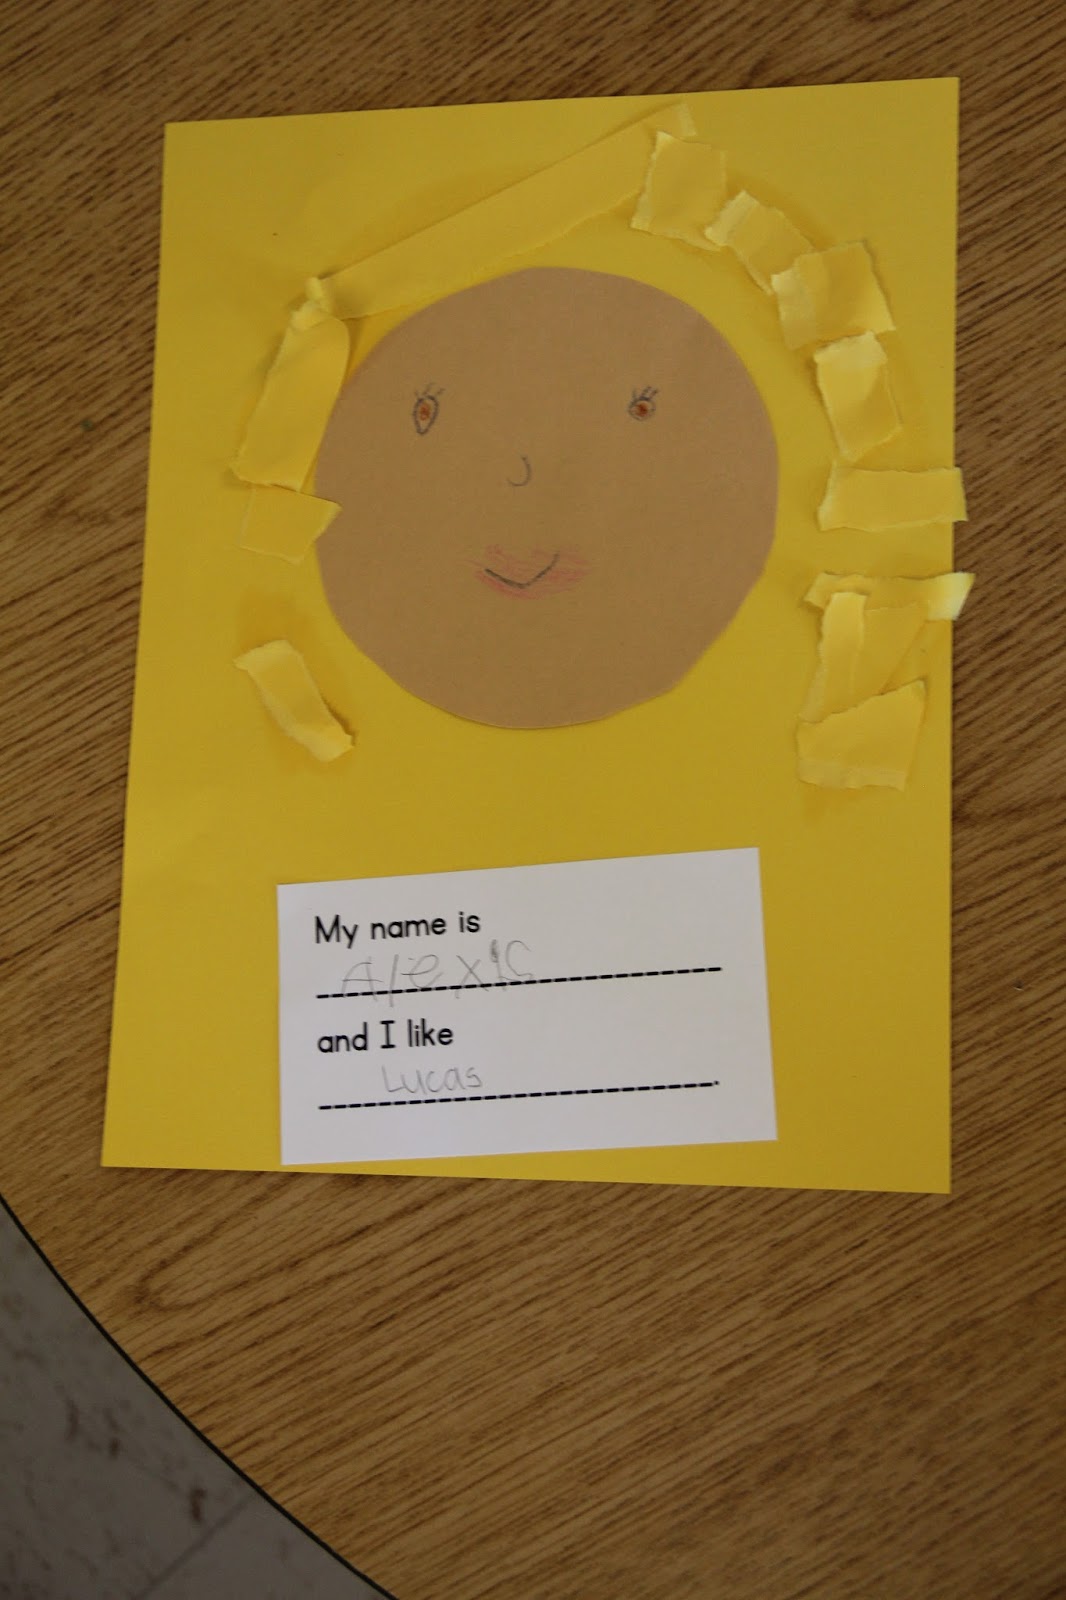
One last thing about my community helpers unit is the poem I use. We do a weekly poem related to our science/social studies theme. Most weeks, we will make art to go with it and put into their Poetry Book. We sing or say the poem each morning as part of our phonics routine.

This unit's poem goes like this:

When I grow up, I want to be
the very best _____________ that I can be.
I'll do my job so carefully
to be the best me that I can be!

In the blank, we put the name of a community helper or job. For this poem, I have a pocket chart version that we use during phonics, and that students can go use during center time as well. It's a fun way for them to learn print concepts and interact with the poem. I just wrote the poem out on sentence strips, cut up the words, and then wrote a number of community helpers on sentence strips, with accompanying pictures to help the students. They love doing that during center time!


For our art to go with this poem, the kids draw a self portrait of themselves as a grown-up in the job that they want. It takes a lot of time and patience, but I always put out lots of books so the students can look at what they might wear in that job, what kind of setting they would be in, and what kind of tools they might use. Both years, the result has actually been really good! Unfortunately, I don't have pictures to share of that artwork.

God's blessings and happy teaching!
Mikaela


The Little Red Hen Unit

Did anyone else come out of their first year of teaching with a bunch of goals and aspirations? I mean, that's what it is to be a teacher, right? One of my (many) goals was to improve literature instruction. 

I wanted to be able to incorporate not just reading a book, but also looking at story elements, develop re-telling skills, learning vocabulary words, and allowing the students to connect the story to themselves, others stories, and the world. Not just every once in a while, but for every story, every week. I also wanted to expose my students to all kinds of good, classic literature for their age level, with folk tales and fairy tales and new, more modern stories mixed in. I wanted to intentionally reinforce all these skills and introduce meaningful texts, and not let them get lost in the "not enough time" dilemma or to allow bad curriculum to hold me back. 

So over the summer I did a lot of research and checked a lot of books out of the library and planned out the book that we would be reading each week. The problem I ran into was wanting to keep my literature at least loosely connected to our social studies/science theme for the week, but also having a good range of literature for the students to be exposed to. But hey, I made it work, and last week, we had our first traditional literature unit of the year - The Little Red Hen, with our social studies unit being community and community helpers. 

In order to help with the re-telling skill of this story, I made some little stick puppets of the characters. I just found some free printables of the story online, colored them, laminated them, and then taped them onto craft sticks. After using them to retell the story during the lesson, I also put them out at a center for a few days. The kids loved going to that center and saying "Not I!" and "Then I'll do it myself!" over and over. 


On Friday, my plan is to always do an activity to connect the story to the students' lives or allow them to get deeper into the story. So we took some time to bake bread! Rather than dealing with yeast and sticky dough, I chose for us to make cornbread, and we made it in muffin tins so they were easy to serve! Pretty much, I had the ingredients pre-measured and the students all got to help put the ingredients into the bowl and stir. They were SO excited to eat them! They each got one at snack and one to take home, and surprisingly, they all ate them. I guess I don't have any picky eaters this year. If you could see their excited little faces in these photos, it would melt your heart. It was a lot of work but definitely worth it! 


God's blessings and happy teaching!
Mikaela

Thursday, September 3, 2015

Environmental Print Activities

Just finished day #12 of school and boy am I wiped! It turns out, a class of six is harder than it seems. Sure, prepping art projects and making copies and putting wet paint projects on the drying rack and stuffing folders doesn't take as long as it would for a class of 12 or 20, but six is its own challenge. Right now, I'm dealing with the goofiness and silliness and trying to teach them when it is appropriate to be that way. They're still sleeping most afternoons during rest time. Can I make a little confession? Today, I let them keep sleeping. It was just a rough day. They needed it, I needed it. The last hour of school was so much better for it. 

Something I didn't do last year that I really wish I had was working with environmental print. Last year, as a new teacher, I was reliant on the curriculum, which included no mention of environmental print activities. Throughout the year, I came across something on Pinterest that sparked a memory of seeing this done in classrooms before...possibly my mom when she was a teacher? I don't know. BUT wherever it came from, I miraculously remembered to include it in my lesson planning for the first weeks of school. 

I explored a bunch of different options, and I finally settled on a few activities over a span of several days. On Monday, I introduced the concept of environmental print. I asked them to raise their hands if they knew how to read. None of them raised their hands. I pulled out some of the labels and logos I had printed out and asked them to read them. Guess what? After that, when I asked them if they could read, they all raised their hands! I so wish I had done this last year, I felt like I had a few readers who didn't use their full potential because they just didn't have confidence that they could read. 

After that little introduction, we played this FREE "I Have, Who Has?" game of environmental print from Gluesticks 'N Giggles. This is such a great game, and so catchy for my little ones! It's especially helpful for my little English Learners, practicing those phrases in the correct pronouns and verb tenses.

Then, we created an "I Can Read!" book. I laid out all the labels and logos out on a table and let each child come and pick five. They then took them back to their tables and glued them into their books. These books each have the sentence "____________ can read _____________", also allowing for extra name practice. After they finished gluing, I had them take the books home for a few days to practice reading them with their parents, and I will put them in their book boxes so they have something simple to read. 

By the way, DON'T spend time printing out your own labels or logos or signs!! Just do a quick search on TPT or Pinterest -- many people have made very wide-encompassing documents you can download for free! I made one for myself with specific movies and tv shows that I know the kids enjoy, as well as some St. Louis specific logos (I don't know a single St. Louis resident who doesn't recognize the Cardinals logo!). 

In addition to small personal books for the kids to read, I also wanted to make a larger scale project for the kids to reference. As much as I love those environmental print word walls, my walls are already taken up to the max. So I decided to make a "word wall" and put it into a binder to keep in the writing center. Rather than spending an hour sorting and gluing all the letters myself, I enlisted the kid's help and made it a learning experience. I left out all the leftover pieces from after the students made their individual books, and the next day, I asked them to sort them by the first letter onto the rug (we have a nice big rug with the whole alphabet around the edge!). Once they were all sorted, I checked them and removed duplicates, and then gave them the pages and had them start gluing! Within a few minutes, the book was ready to go! I never spend the time doing something my kids can do themselves and learn from it at the same time! 

So that's what we did for environmental print over the last few days, and it really was a lot of fun and really beneficial for the kids! What do you do for environmental print? Do you have any great ideas that have worked? 

God's blessings and happy teaching!
Mikaela


Thursday, August 27, 2015

We're Going on a Letter Hunt!

I'm discovering that this year's class is much, much different than last year's. This is to be expected, but since I'm only in year 2, it's weird to transition to a new class with different needs and challenges. Last year's class was crazy smart. I'm fortunate to teach in a private school with parents who care, really care, as well as a great pre-school with amazing teachers. Last year, 8 out of 10 of my students came from our Pre-K. This meant that they all had fine motor skills that were well-developed, good classroom routines, they were familiar with the school, and they all came in knowing almost all their letters and many letter sounds. This year, only 3 out of 6 students came from our Pre-K. This means that I'm encountering students who don't recognize letters and under-developed fine motor skills.

Sooo I've spent the last few days combing Pinterest for some good ideas for letter recognition and fine motor development. One purchase I made that I am extremely excited about are these Alphabet and Number Play Dough Mats  from the Printable Princess! The Letter Play Dough mats had been on my TPT wish list for weeks, but when I saw the bundle yesterday, I was sold! And my husband lovingly spent hours today cutting laminating for me :-) I'm excited to use these for letter recognition, number recognition, and fine motor development.

A letter activity we did today is based on the book Alphabet City. This is an activity I snagged from my mom in her teaching days. Alphabet City is a book of just photos of hidden letters in various places around a city. The kids absolutely loved looking through it to try and find the letters.


Today, we went on a letter hunt to make our own Alphabet School Book. The difficult part of this was trying to show the kids what we were looking for -- not printed letters like on signs or posters, but "hidden" letters we could find in furniture, walls, etc., in order to follow the theme of the original book we read. After a few examples, they seemed to get the hang of it!

He found a D in the shape of my teacher table.

He found a V in the table legs.

We started in the classroom. We looked around and found some letters. I helped by finding them and then asking kids to identify them, or just by pointing out a general area to guide them. I put one student (who knows all his letters) in charge of marking off the letters that we found as we went. He felt very special doing that!

We found a P in the wall rack and an X in the lines on the floor!

After the classroom, we moved to the gym. The lines on the floor and equipment on the walls provide lots of hidden letters!

We found A in the legs of the picnic table. 

She found S in the fence.

Lastly, we went to the playground to finish up our list. The last few letters were a bit of a stretch (R and K are really hard!), but hey, we got them all!

My next step was to put all the photos into a class book. Rather than having to pay to get them printed, I was planning on just putting them into a Publisher document and printing them in color. I figured while I was there, I might as well just add the text! I made them simple sentences. Each page has the sentence "(Student's Name) can see (Letter)." The simple text and the fact that the students have their own pictures on the pages will hopefully encourage them to read this book in our classroom library!

God's blessings and happy teaching!
Mikaela

Tuesday, August 25, 2015

Tool or Toy?

The marathon continues...surviving the first few weeks of school. I had my full class for the first time yesterday, when student #6 returned from vacation. However, today, he was out sick and we were back to our class of five.

Today also marked the day that my kids all decided that they know each other well enough and felt comfortable enough in the classroom to be mean to each other. between morning recess and lunch recess, I heard more fights, mean comments, and tattling than I had heard in the first four days of school. So we had a lot of talks and practiced using kind words with each other...and then, during rest time, four of them passed out and slept for over half an hour. Time came to wake them and I just couldn't bring myself to do that. So I let them sleep. I know I can't let that happen often, but right now, they're still adjusting to being back in school, and since I have the luxury of having the time and space for them to rest as they need it, I'm going to give it to them.

A lesson we did today (after they all woke up!) is about using the materials we have in the classroom. I came up with this idea part of the way through the year last year, and thankfully I wrote it down to remember it when I started planning this year! At some point during the year last year, whenever I would catch a student playing with their pencils, or scissors, or crayon box, or glue, or... you know what I mean? Rather than giving them a long lecture, I would just ask them, "Is that a tool or a toy?" So this year I chose to preface the whole year with this lesson and a discussion on classroom materials and how we use them. This way, my catch phrase now has a deeper meaning and something they can reference.

It was simple really, all I did was take a large piece of construction paper, and made it into a t-chart. Then, I collected a large box of various classroom materials, both "tools" and "toys." I modeled the procedure of pulling out a few items and putting them on the chart, and saying why they belong where they did. Then we passed around the box, and the kids followed suit. We had really great discussions about what materials are for, and why it's important that we use them in the right way.


Another way to do this (that I opted out of due to the fact that it would have taken longer to prep, and I have no wall space) would be to make an anchor chart. You could either print out clip art photos or even better, take photos of the items you have in your classroom, and have the kids participate in placing them in the right category on the chart, and hang it up in the classroom.

What's your catch phrase? How do you discuss the proper use of classroom materials with your students?

God's blessings and happy teaching!
Mikaela

Sunday, August 23, 2015

Day 3

Friday was so much easier than Thursday! It was the second full day of school, and I could see the kids wanting to be more independent and showing their knowledge of our routines. They are SO good at raising their hands! Granted, it's Kindergarten, so when they do, it's usually something totally unrelated and off topic, but it's been fun to see that in them. And let's be honest, they are pretty adorable.

A few routines that I started right away in the classroom are life savers! The first are hand signals for when they need to use the restroom and get a drink. If you've ever heard Rick Morris speak, he uses hand signals. You know when you're having an awesome lecture discussion, and you call on a student, and you get the "Can I go to the bathroom?" question, throwing off the entire discussion, and causing five other students to realize they have to go to the bathroom too? This way, all you have to do is give a little nod, or say, "Go ahead" or "Wait" and get on with life. SO MUCH EASIER. Rick Morris lectured at my university when I was there in the teaching program, and he has some pretty awesome ideas. This idea, I actually learned from my mom, but it was nice to have it reinforced. He uses a lot more signals, but I find that Restroom and Drink are sufficient for my classroom (although I may add a Tissue one when winter comes around!).


Another idea I've implemented this year that I've seen around on blogs a lot are the visual directions. Last year, I got so tired of constantly repeating myself (what teacher doesn't) or having to try and stop in the middle of a project and get control of the class to give them the next step of directions. Last year, I started using a Whole Brain Teaching type method to give directions, having the kids repeat after me before we started a project. But there was still always the question of what to do when you're done, or which type of supplies to use, being shouted out at me. This summer, when I had some time, I put together cards to do a visual display of directions to solve this problem as much as possible. I've used it several times, and they don't quite have it down yet, but I'm confident it will be a huge help in the classroom! These are the directions after a project we did the other day. It's nice because it solves the problem of what order to do things in, which supplies to use (I'm picky about whether they use a glue bottle or a glue stick!), and what to do when they're done.


Now, I know you can find these sets all over the internet and on Teachers Pay Teachers, but I decided to make my own set based on the needs in my classroom and the routines that I have in place. I printed them out and then glued them on scrapbook paper for some cuteness!

God's blessings and happy teaching!
Mikaela

Thursday, August 20, 2015

Day 2

The second day is harder than the first. This is because the first day was all happiness and smiles and it was only a half day. Today, I had the kids all day for the first time. Went through lunch for the first time. Went through rest time for the first time. And by the end of the day, we were all tired. But I'm holding on for that day when the routine settles and we aren't faced with the change and newness of every minute.

Today, we made a fun craft I found last year. Simple, but a good assessment of skills and fun way to get to know them.


We also read a fun favorite, Chicka Chicka Boom Boom. After reading, we played the Letter Bag game. So much fun, so quick and catchy! I didn't do anything fancy, just got a lunch bag and threw a bunch of foam letters in it (I really don't know what they're supposed to be for, they were just in the classroom when I arrived!). I also wrote the song on the bag because I knew I'd forget it otherwise. But it's really simple and the kids love it, to the tune of The Muffin Man.

Oh, look who has the letter bag,
the letter bag, the letter bag.
Look who has the letter bag,
now please take a letter!

It was a good way to help me assess the skills my kids have in letter identification, because we were able to go around the circle several times (with a small class that's easy!). 


After playing the game, I put on this Chicka Chicka Boom Boom video, which I think is such a fun way to re-read the story, without, you know, re-reading it. A fun way to work on letters in the first days of school!

God's blessings and happy teaching!
Mikaela